
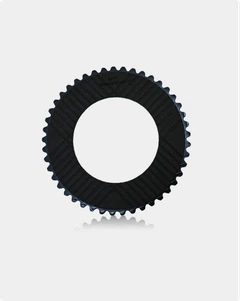
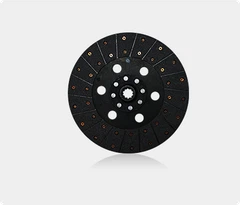
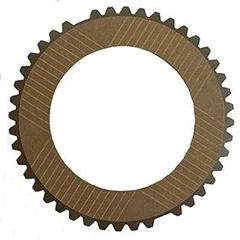
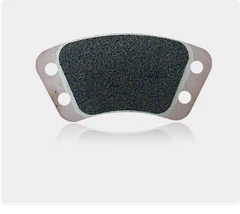



How to Replace a High Efficiency Cushion Button Clutch?
As a supplier of High Efficiency Cushion Button Clutch, I've encountered numerous customers seeking guidance on the replacement process. A well - functioning clutch is crucial for the smooth operation of various mechanical systems, and replacing a High Efficiency Cushion Button Clutch requires a systematic approach. In this blog, I'll walk you through the step - by - step process of replacing this type of clutch.
Step 1: Preparation
Before you start the replacement process, gather all the necessary tools. You'll need a socket set, wrenches, a torque wrench, a pry bar, and a clutch alignment tool. Additionally, make sure you have a clean workspace and safety equipment such as gloves and safety glasses.
It's also essential to have the new High Efficiency Cushion Button Clutch on hand. Check the specifications of the new clutch to ensure it matches your equipment's requirements. Inspect the clutch for any visible damage during the pre - installation check.
Step 2: Disconnect the Power Source
Safety should always be your top priority. Before you begin working on the clutch, disconnect the power source to the equipment. This could mean turning off the engine in a vehicle or unplugging an industrial machine. Lock out and tag out the power source to prevent accidental startup during the replacement process.
Step 3: Remove the Transmission
In most cases, you'll need to remove the transmission to access the clutch. Start by draining the transmission fluid into a suitable container. Then, remove the bolts that secure the transmission to the engine. Use a transmission jack to support the weight of the transmission as you carefully lower it away from the engine.
Once the transmission is removed, you'll have clear access to the clutch assembly. Take this opportunity to inspect the flywheel for any signs of wear, damage, or unevenness. If the flywheel is damaged, it may need to be resurfaced or replaced.
Step 4: Remove the Old Clutch
The clutch assembly is typically held in place by a series of bolts. Use your socket set to remove these bolts. Once the bolts are removed, carefully pry the old clutch away from the flywheel. Be cautious not to damage the flywheel or any other components during this process.
Inspect the old clutch for signs of excessive wear, such as thin friction material or broken cushion buttons. If the clutch has been slipping or not engaging properly, these symptoms may be visible on the old clutch. Dispose of the old clutch in accordance with local regulations.
Step 5: Clean the Flywheel
After removing the old clutch, clean the flywheel surface thoroughly. Use a clutch cleaner or a suitable solvent to remove any grease, oil, or debris from the flywheel. A clean flywheel surface is essential for proper clutch engagement and performance.
Use a fine - grit sandpaper to gently smooth out any minor imperfections on the flywheel surface. However, be careful not to over - sand the flywheel, as this can affect its balance and performance.
Step 6: Install the New Clutch
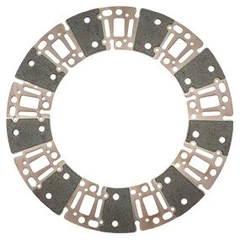
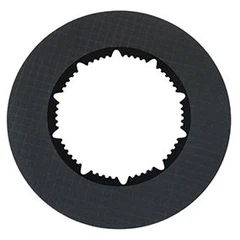
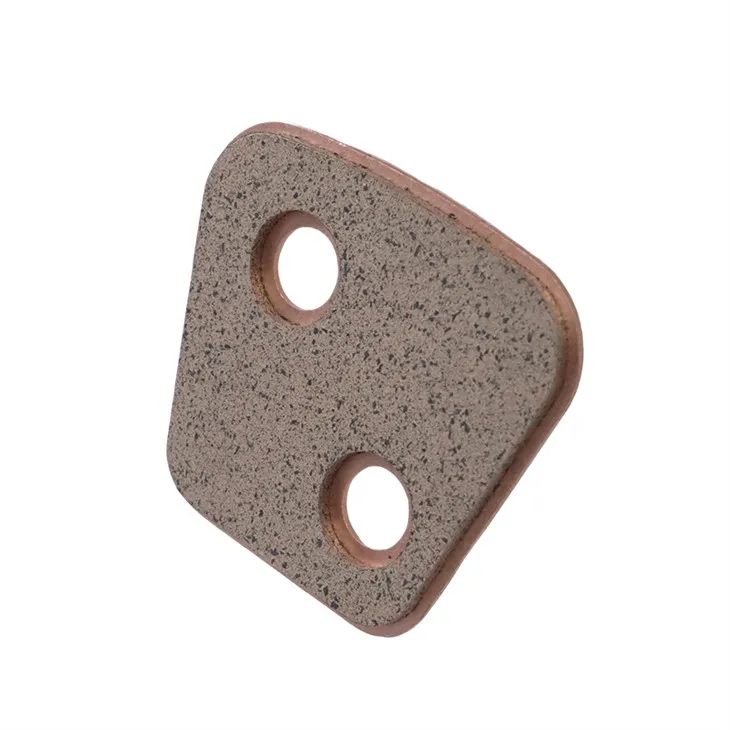
Place the new High Efficiency Cushion Button Clutch onto the flywheel. Make sure the clutch is properly aligned with the flywheel using a clutch alignment tool. This tool ensures that the clutch disc is centered and that the splines on the disc match those on the transmission input shaft.
Once the clutch is aligned, install the pressure plate and tighten the bolts gradually in a criss - cross pattern. Use a torque wrench to tighten the bolts to the manufacturer's recommended torque specifications. Over - tightening or under - tightening the bolts can lead to clutch problems.

Step 7: Reinstall the Transmission
Carefully lift the transmission back into place using the transmission jack. Align the transmission with the engine and reinstall the bolts that secure the transmission to the engine. Tighten the bolts to the specified torque settings.
Refill the transmission with the appropriate type and amount of transmission fluid. Make sure to follow the manufacturer's recommendations for fluid type and capacity.
Step 8: Reconnect the Power Source
After the transmission is reinstalled and the fluid is refilled, reconnect the power source to the equipment. Double - check all connections to ensure they are secure.
Step 9: Test the Clutch
Before putting the equipment back into full operation, perform a test run. Start the engine or power on the machine and engage the clutch slowly. Listen for any unusual noises, such as grinding or rattling, which could indicate a problem with the clutch installation.
Check the clutch engagement and disengagement. The clutch should engage smoothly without slipping and disengage completely when the pedal or lever is depressed. If you notice any issues during the test run, shut down the equipment immediately and re - check the clutch installation.
Step 10: Final Checks
Once you're satisfied with the clutch's performance during the test run, perform a final inspection. Check all the bolts and connections to ensure they are still tight. Look for any signs of fluid leaks around the transmission or clutch area.
Clean up your workspace and properly dispose of any used fluids or materials.
Additional Considerations
When replacing a High Efficiency Cushion Button Clutch, you may also want to consider upgrading related components. For example, High Reliability Sintered Clutch Button offers enhanced durability and performance in some applications. Premium Copper Clutch Button can also provide better heat dissipation and longer service life.
If you're not confident in your ability to replace the clutch yourself, it's advisable to seek the assistance of a professional mechanic or technician. They have the experience and tools to ensure a proper installation.
Conclusion
Replacing a High Efficiency Cushion Button Clutch is a complex but achievable task with the right tools, knowledge, and safety precautions. By following the steps outlined in this blog, you can ensure a successful clutch replacement and restore the performance of your equipment.
If you're in the market for a High Efficiency Cushion Button Clutch or related products, I invite you to reach out to us. We're a leading supplier of high - quality clutch products, and our team of experts can assist you with your procurement needs. Whether you have questions about product specifications, installation, or maintenance, we're here to help. Contact us today to start a procurement discussion and find the best clutch solution for your requirements.
References
- Automotive Service: Inspection, Maintenance, Repair, Ninth Edition by James D. Halderman
- Industrial Clutch Handbook: Design, Selection, and Application by John A. Schey


