
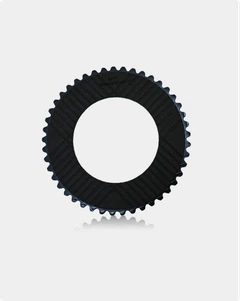
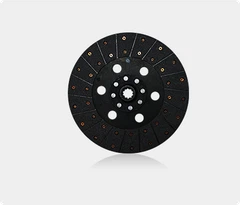
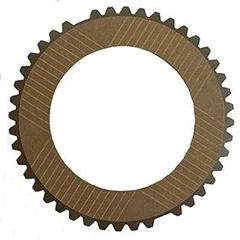
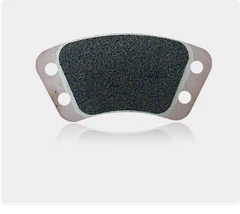
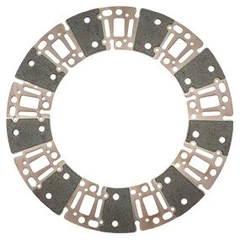
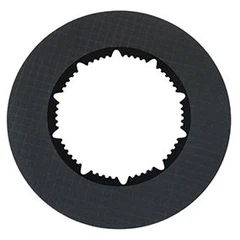
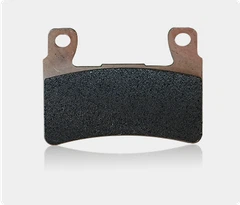



Ensuring the proper alignment of a long-lasting friction clutch disc during installation is a critical process that directly impacts the performance and longevity of the clutch system. As a supplier of Long Lasting Friction Clutch Disc, I understand the significance of this step and have witnessed firsthand the consequences of improper alignment. In this blog post, I will share some essential tips and techniques to help you achieve accurate alignment during the installation of a long-lasting friction clutch disc.
Understanding the Importance of Proper Alignment
Before delving into the installation process, it's crucial to understand why proper alignment is so important. A misaligned clutch disc can lead to a variety of problems, including premature wear, reduced performance, and even complete clutch failure. When the clutch disc is not aligned correctly, it can cause uneven pressure distribution across the friction surfaces, resulting in excessive heat generation and accelerated wear. This can lead to a decrease in clutch engagement and disengagement efficiency, as well as increased noise and vibration.
In addition to wear and performance issues, misalignment can also cause damage to other components of the clutch system, such as the pressure plate, flywheel, and release bearing. Over time, this can lead to costly repairs and replacements, as well as downtime for your vehicle or equipment. Therefore, taking the time to ensure proper alignment during installation is a small investment that can save you a lot of time and money in the long run.
Pre-Installation Preparation
Before installing a long-lasting friction clutch disc, it's important to prepare the clutch system and the surrounding components. This includes cleaning the flywheel and pressure plate surfaces to remove any dirt, debris, or old friction material. A clean surface is essential for proper clutch engagement and disengagement, as well as for accurate alignment.
Next, inspect the flywheel and pressure plate for any signs of damage or wear. Look for cracks, warping, or excessive wear on the friction surfaces, as these can affect the performance and alignment of the clutch disc. If any damage is found, the flywheel or pressure plate should be repaired or replaced before proceeding with the installation.
It's also important to check the condition of the clutch release bearing and the clutch fork. The release bearing should move smoothly and freely, without any signs of binding or excessive play. The clutch fork should be inspected for any signs of damage or wear, and replaced if necessary.
Alignment Tools
To ensure proper alignment of the long-lasting friction clutch disc, you will need to use a few specialized alignment tools. These tools are designed to help you position the clutch disc correctly on the flywheel and ensure that it is centered and parallel to the pressure plate.
One of the most commonly used alignment tools is a clutch alignment tool. This tool consists of a long rod with a tapered end that fits into the pilot bearing in the flywheel. The other end of the rod has a series of pins or fingers that engage with the holes in the clutch disc, allowing you to position the disc accurately on the flywheel.


Another useful tool is a dial indicator. A dial indicator is a precision measuring instrument that can be used to measure the runout of the flywheel and the clutch disc. Runout is the amount of deviation from a perfect circle, and excessive runout can cause uneven pressure distribution and premature wear. By using a dial indicator, you can ensure that the flywheel and clutch disc are within the specified runout limits.
Installation Process
Once you have prepared the clutch system and gathered the necessary alignment tools, you can begin the installation process. Here are the steps to follow:
- Position the Clutch Disc: Place the long-lasting friction clutch disc on the flywheel, making sure that the friction surfaces are facing the correct direction. The clutch disc should be centered on the flywheel, and the alignment tool should be inserted through the center hole of the disc and into the pilot bearing in the flywheel.
- Install the Pressure Plate: Place the pressure plate over the clutch disc, aligning the bolt holes with the holes in the flywheel. Insert the bolts finger-tight, but do not tighten them fully at this stage.
- Check the Alignment: Use the alignment tool to check the alignment of the clutch disc. The disc should be centered and parallel to the pressure plate, and the alignment tool should fit snugly into the pilot bearing. If the disc is not aligned correctly, adjust its position until it is centered and parallel.
- Tighten the Bolts: Once the clutch disc is properly aligned, tighten the bolts on the pressure plate to the specified torque using a torque wrench. Make sure to tighten the bolts in a crisscross pattern to ensure even pressure distribution.
- Remove the Alignment Tool: After tightening the bolts, remove the alignment tool from the clutch disc and the pilot bearing.
- Check the Runout: Use a dial indicator to check the runout of the flywheel and the clutch disc. The runout should be within the specified limits, and any excessive runout should be corrected before proceeding.
- Install the Clutch Release Bearing and Fork: Install the clutch release bearing and fork, making sure that they are properly lubricated and adjusted. The release bearing should move smoothly and freely, and the clutch fork should be able to engage and disengage the clutch disc without any binding.
- Reassemble the Clutch System: Once the clutch disc, pressure plate, release bearing, and fork are installed, reassemble the rest of the clutch system, including the transmission, driveshaft, and other components.
Post-Installation Checks
After installing the long-lasting friction clutch disc, it's important to perform a few post-installation checks to ensure that the clutch system is functioning properly. Here are the checks to perform:
- Check the Clutch Engagement and Disengagement: Start the engine and engage the clutch. The clutch should engage smoothly and without any noise or vibration. Release the clutch, and the engine should rev up freely without any signs of dragging.
- Check the Clutch Pedal: Depress the clutch pedal and check for any signs of binding or excessive play. The clutch pedal should feel firm and responsive, and it should return to its original position smoothly when released.
- Check for Leaks: Inspect the clutch system for any signs of leaks, such as fluid leaks or air leaks. If any leaks are found, they should be repaired immediately.
- Test Drive the Vehicle: Take the vehicle for a test drive and pay attention to the performance of the clutch system. The clutch should engage and disengage smoothly, and there should be no signs of slipping or grabbing.
Conclusion
Ensuring the proper alignment of a long-lasting friction clutch disc during installation is a critical process that requires attention to detail and the use of specialized tools. By following the tips and techniques outlined in this blog post, you can ensure that your clutch system performs optimally and lasts for a long time.
As a supplier of Long Lasting Friction Clutch Disc, we are committed to providing high-quality products and excellent customer service. If you have any questions or need further assistance with the installation of a long-lasting friction clutch disc, please do not hesitate to contact us. We are here to help you find the right solution for your needs and ensure that your clutch system performs at its best.
References
- "Clutch Installation Guide," Clutch Manufacturers Institute
- "How to Install a Clutch," Haynes Manuals
- "Clutch Alignment Tools," Summit Racing Equipment


