

Installing an OEM clutch disc in a manual transmission car is a crucial process that requires precision and knowledge. As an OEM clutch disc supplier, I've witnessed firsthand the importance of a proper installation to ensure optimal performance and longevity of the clutch system. In this blog, I'll guide you through the step-by-step installation process of an OEM clutch disc in a manual transmission car.
Step 1: Preparation
Before you begin the installation process, it's essential to gather all the necessary tools and materials. You'll need a socket set, a torque wrench, a clutch alignment tool, a jack, jack stands, and of course, the OEM clutch disc. It's also a good idea to have a clean workspace and a manual for your specific vehicle to reference throughout the process.
Step 2: Vehicle Elevation
First, park your car on a flat, level surface and engage the parking brake. Then, use a jack to lift the front of the vehicle and secure it with jack stands. Make sure the vehicle is stable and secure before proceeding.
Step 3: Drain the Transmission Fluid
Locate the transmission fluid drain plug and place a drain pan underneath. Remove the drain plug and allow the transmission fluid to drain completely. Once the fluid has drained, reinstall the drain plug and tighten it to the manufacturer's specifications.
Step 4: Remove the Driveshaft
Locate the driveshaft at the rear of the transmission and remove the bolts that secure it to the differential. Carefully slide the driveshaft out of the transmission and set it aside.
Step 5: Disconnect the Clutch Hydraulic Line
If your vehicle has a hydraulic clutch system, locate the clutch hydraulic line at the transmission and disconnect it. Be sure to catch any fluid that may spill.
Step 6: Remove the Transmission
Remove the bolts that secure the transmission to the engine. Use a transmission jack to support the weight of the transmission and carefully lower it from the vehicle.
Step 7: Remove the Pressure Plate and Old Clutch Disc
Once the transmission is removed, you'll have access to the pressure plate and clutch disc. Remove the bolts that secure the pressure plate to the flywheel and carefully remove the pressure plate. Then, remove the old clutch disc from the flywheel.
Step 8: Inspect the Flywheel
Before installing the new clutch disc, it's important to inspect the flywheel for any signs of wear or damage. If the flywheel is worn or damaged, it may need to be resurfaced or replaced.
Step 9: Install the New Clutch Disc
Place the new clutch disc onto the flywheel, making sure it is properly aligned. Use a clutch alignment tool to ensure the disc is centered on the flywheel. Then, install the pressure plate and tighten the bolts to the manufacturer's specifications.
Step 10: Reinstall the Transmission
Carefully lift the transmission back into place and secure it to the engine with the bolts. Reconnect the driveshaft and the clutch hydraulic line.


Step 11: Refill the Transmission Fluid
Use a funnel to refill the transmission with the appropriate type and amount of fluid. Check the fluid level and make sure it is within the recommended range.
Step 12: Lower the Vehicle
Once the installation is complete, carefully lower the vehicle from the jack stands. Start the engine and test the clutch to make sure it is working properly.
Importance of Using OEM Clutch Discs
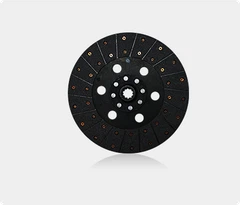
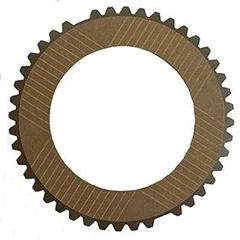
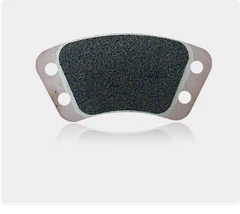
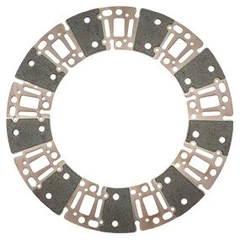
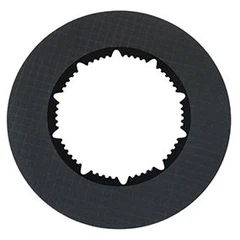
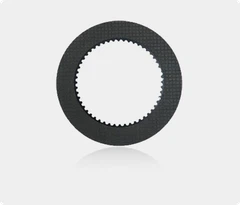
Using an OEM clutch disc is crucial for ensuring the proper fit and performance of your vehicle's clutch system. OEM clutch discs are designed to meet the exact specifications of your vehicle, providing a perfect match for your transmission. They are also made from high-quality materials that are designed to withstand the rigors of daily driving.
At our company, we offer a wide range of Professional Clutch Disc Assy, Long Lasting Friction Clutch Disc, and High Performance Clutch Disc to meet the needs of our customers. Our clutch discs are made from the highest quality materials and are rigorously tested to ensure they meet or exceed industry standards.
Conclusion
Installing an OEM clutch disc in a manual transmission car is a complex process that requires precision and knowledge. By following the steps outlined in this blog, you can ensure a successful installation and optimal performance of your vehicle's clutch system. If you have any questions or need assistance with your clutch installation, please don't hesitate to contact us. We're here to help you find the right clutch disc for your vehicle and ensure a smooth and reliable driving experience.
References
- Automotive Repair Manuals
- Manufacturer's Specifications
- Industry Standards and Guidelines


